Animating Gifs -
 |
| The preset images given to us |
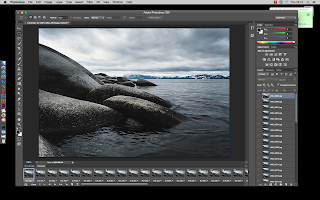
In this lesson with Steve, we learnt how to animate still pictures into a moving animation a.k.a a gif. This task was a fairly simple one but provides very useful for any future work we could need to be doing, i.e. creating a logo for an advert. With this overall task we had the photos given to us as a preset to make things go faster and easier when animating.
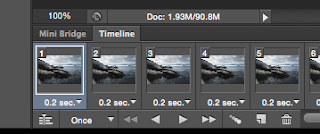 |
| Zoomed picture of the timeline with a 0.2 second frame |
The first task was to open photoshop and then go onto ' file ', then ' scripts ' and click onto ' load files into stack '. This allows us to open up all of the preset pictures in one click of a button. From there we created a frame animation timeline which created a timeline shown in the second picture of each image in time order and we had the ability to choose the time gap between each frame. Here we were allowed to make these images move and create an moving animation , once the timeframe was picked.
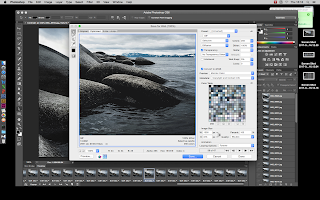 |
| Showing the defaults when saving the gif |
With a few tweaks here and there, changing the timeframe in between frames, making them higher or lower to try and make it look as realistic as possible. Below is my final version after all of the editing was completed. By doing this task, it could provide very useful for any of my coursework or any tasks that involve making a moving animation, more specifically logos and short animations.


Comments
Post a Comment